DIY #2: Setting Up Single Handle Kitchen Faucet
DIY challenge #2 is setting up a single handle kitchen faucet!
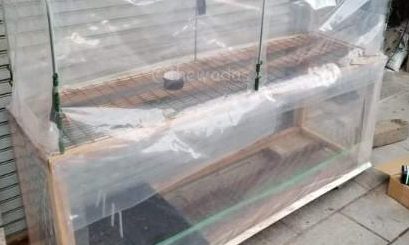
We got this simple eco-type model LINAX (RSF-542YA) single handle kitchen faucet. Unlike the standard-type model, this eco-type is designed where the boundary of hot and cold water is set in the middle position. This prevents from wasting hot water when we tend to position the lever in the middle unconsciously.

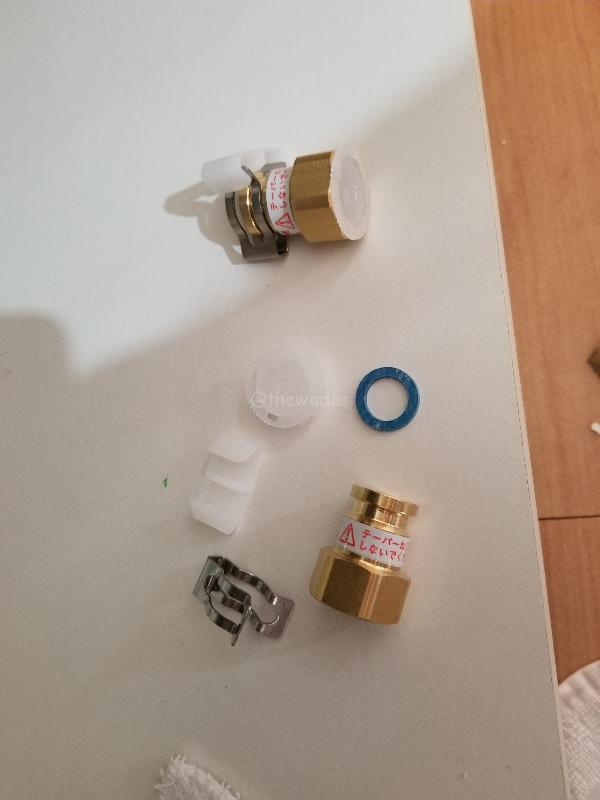
Faucet parts (main body, base attachment, hose and stop valve adapter/clips)
These are the things I used:
- metal hole saw (38-cm diameter)
- impact driver
- screw driver
- size 8 wrench
- file (for cleaning up the hole edge)
- tape (protection against scratches)
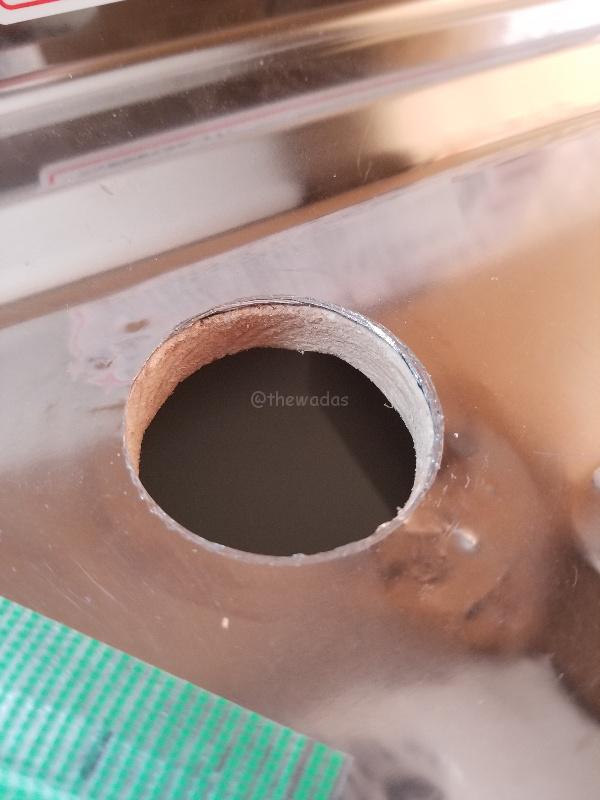
Using a hole saw and an impact driver, I made a hole where the faucet will be attached.
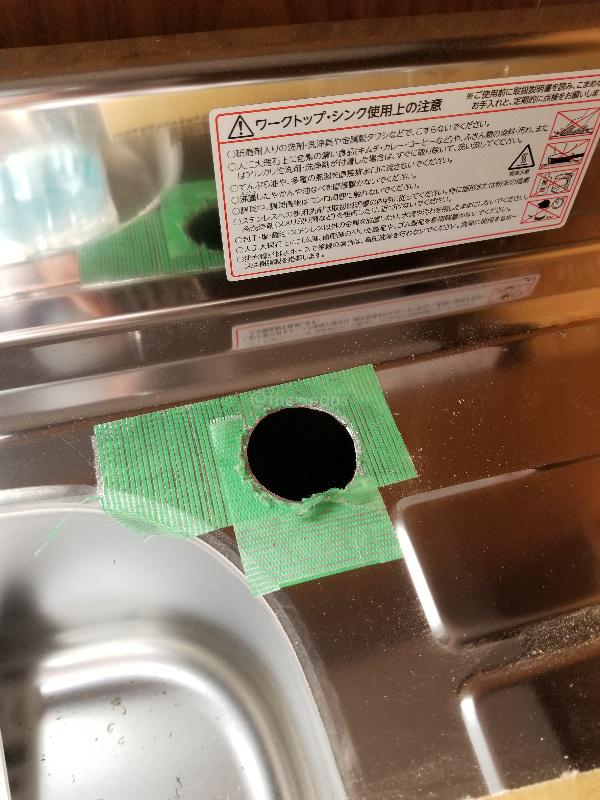
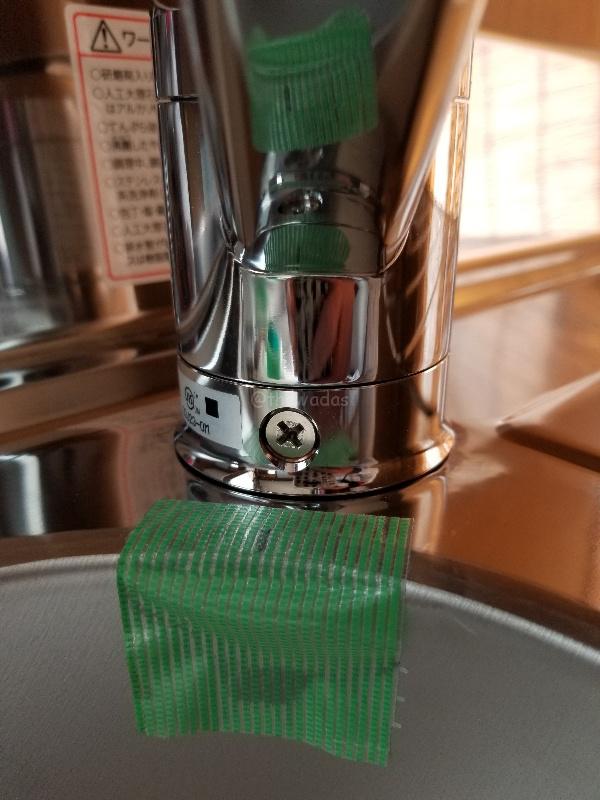
Tape for protection
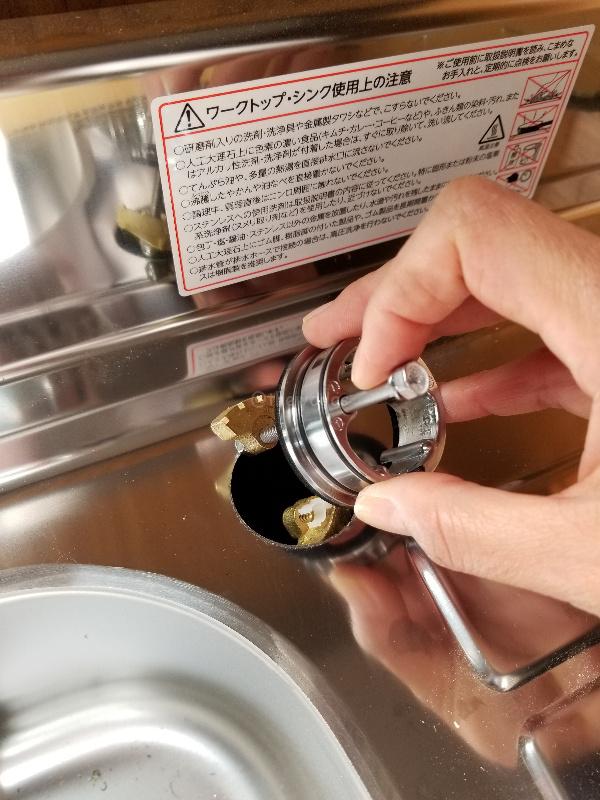
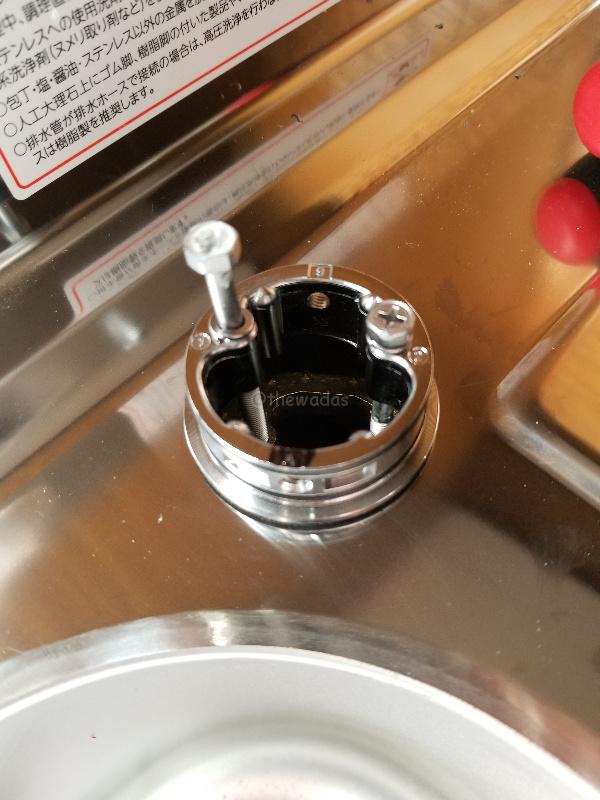
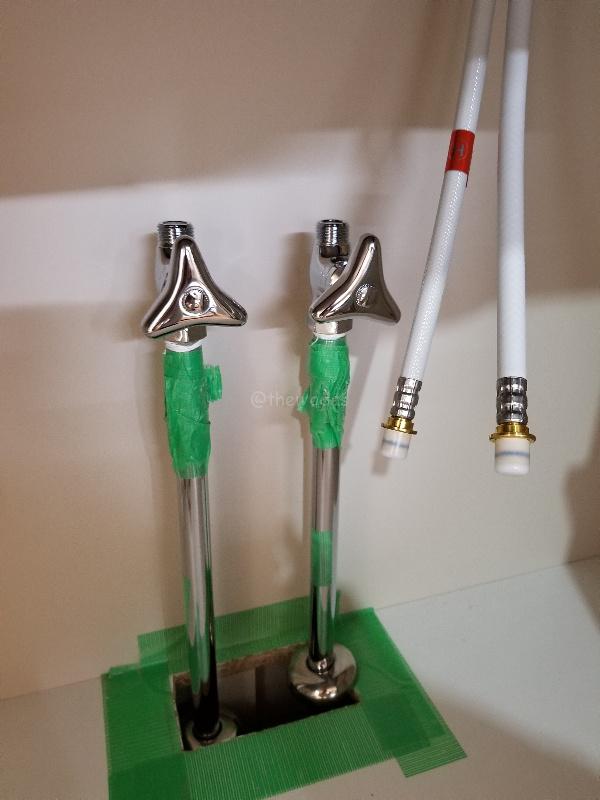
Attaching the faucet base

Complete! …
Complete? Looking closely, there’s a gap between the kitchen countertop and the faucet base.
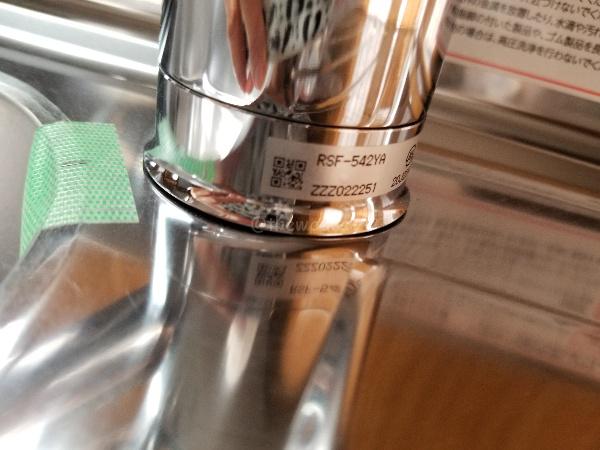
Oh gap…
I tightened the screw too hard causing some dents. Checking the detailed version of the manual and there it is, the warning not to tighten too hard and also the need to add a spacer under the hole.
I tried to flatten the dents but still some space left. I guess, I have to do caulking later on instead. I prepared a small piece of square wood, made the same size of hole, and attached it below the base.
Spacer attached! Re-do the steps.
After attaching the faucet’s main body, next is connecting the faucet hose to the water pipe’s stop valve.
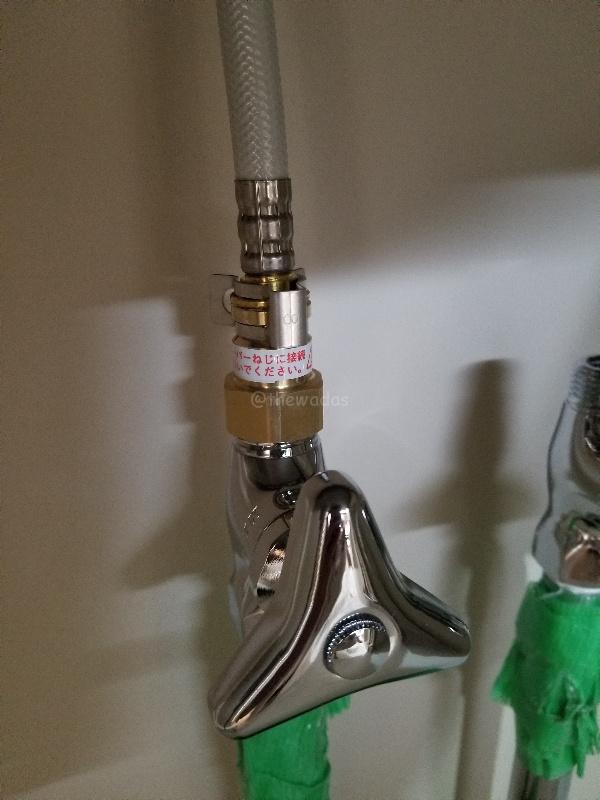
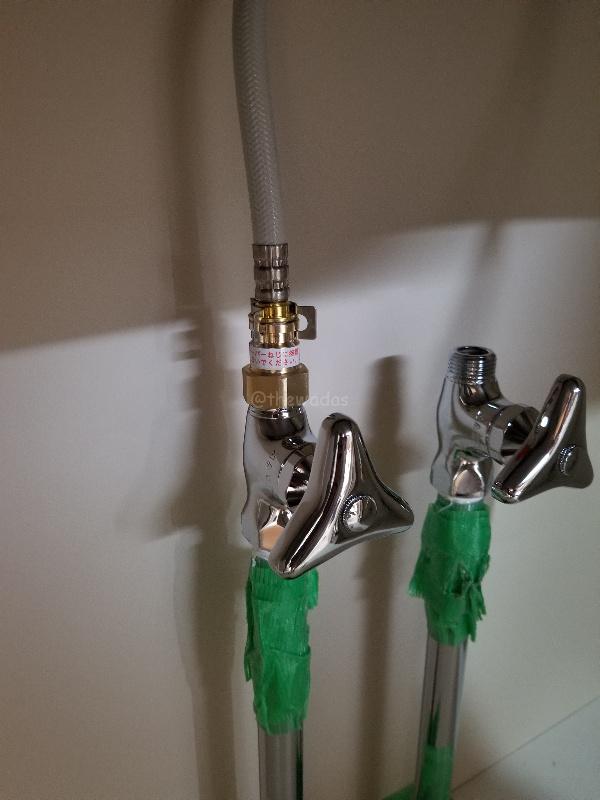

And, DIY challenge complete!