DIY #1: Setting Up Washing Machine Drain Pan
This time’s DIY challenge is setting up washing machine pan.
These are the items I bought to setup our washing machine drain pan:
– washing machine drain pan
– drain trap
– drainage hose (between the drain trap and drainage pipe)
And, the tools I used:
– jigsaw for making hole
– drill bit for making hole
– screw driver
– electric drill or impact driver
I bought these SPG-brand washing machine drain pan and drain trap from Khonan Pro (our regular home center for buying DIY materials). For the drainage hose, I ordered one from Amazon since I didn’t find it at Khonan Pro.
So, the first thing I did is made a hole for the drain trap. I was thinking to make few holes and then, use the jigsaw to make the big hole. But I realized the floor wood is too thick for the jigsaw. So…
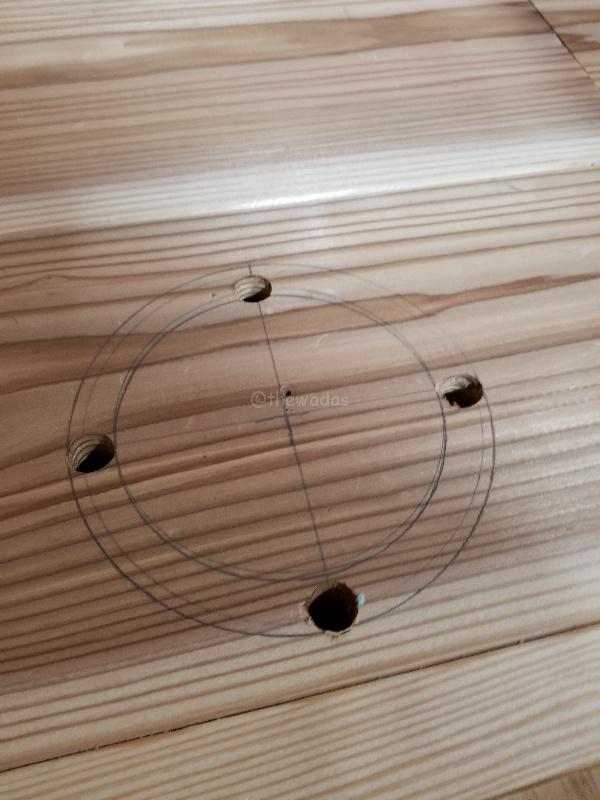
Plan A: Making few holes as guide
I went for Plan B, make holes through out the big circle.
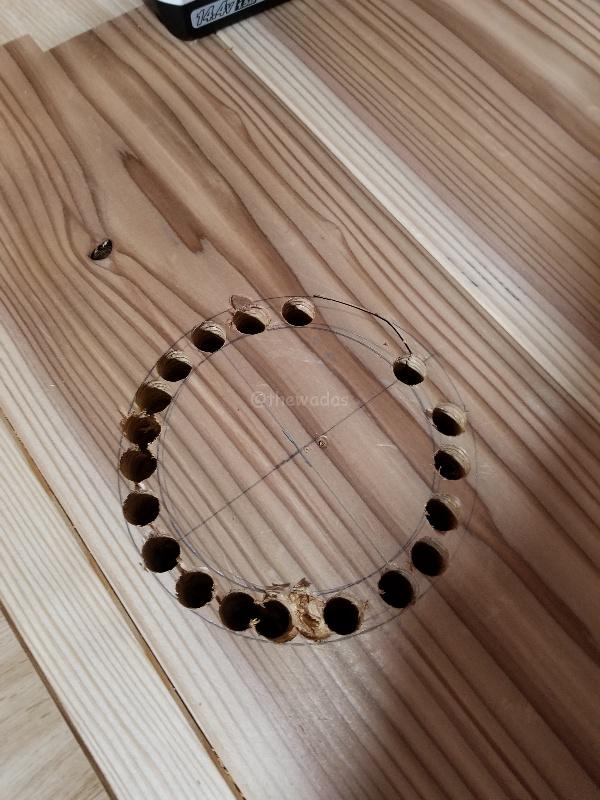
Plan B: A lot of holes…
And, use jigsaw to cut all the way.
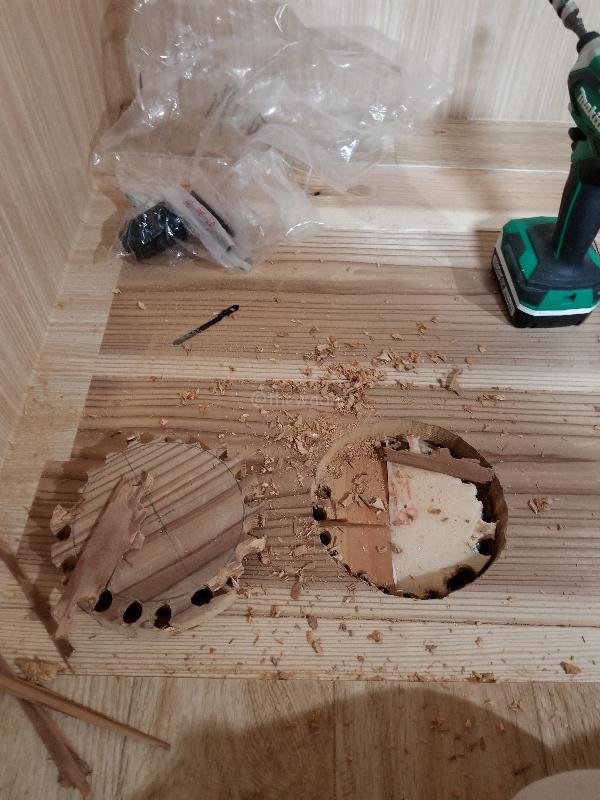
Oops, there’s a support underneath… T_T
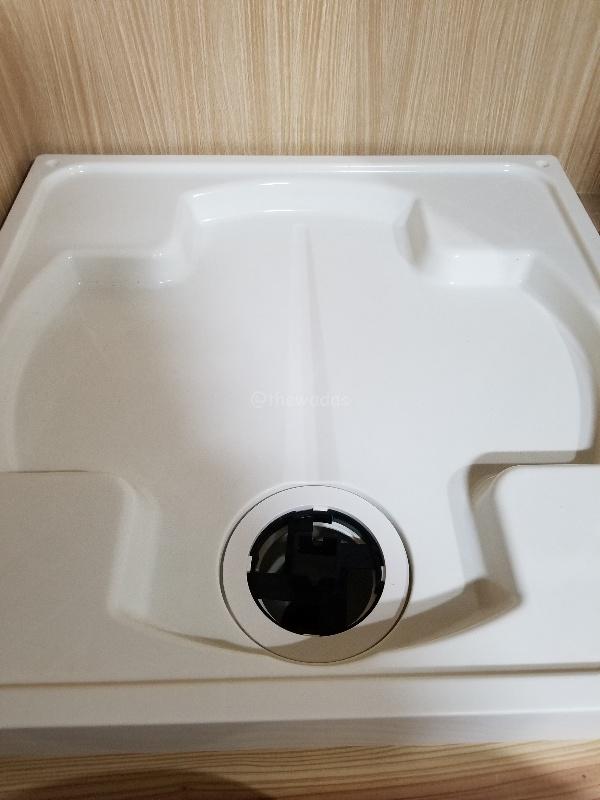
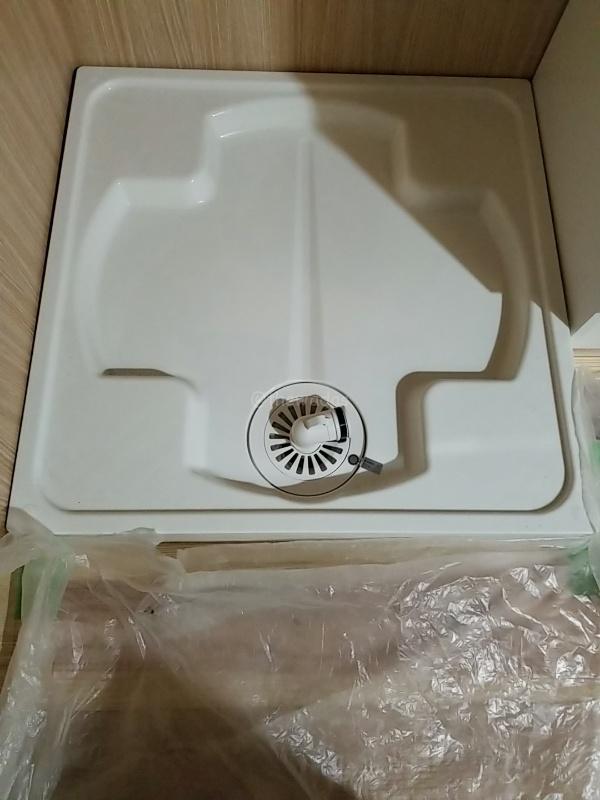
Next! Check if the hole is the same size as the washing machine drain pan’s.

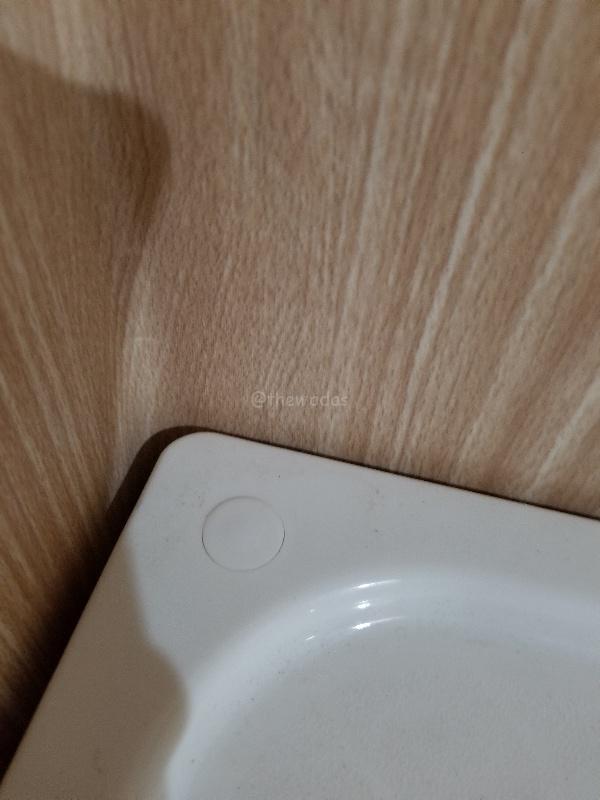
Drain pan hole size: Checked!
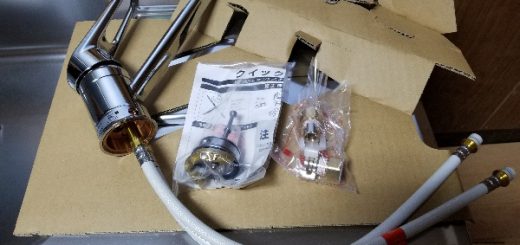
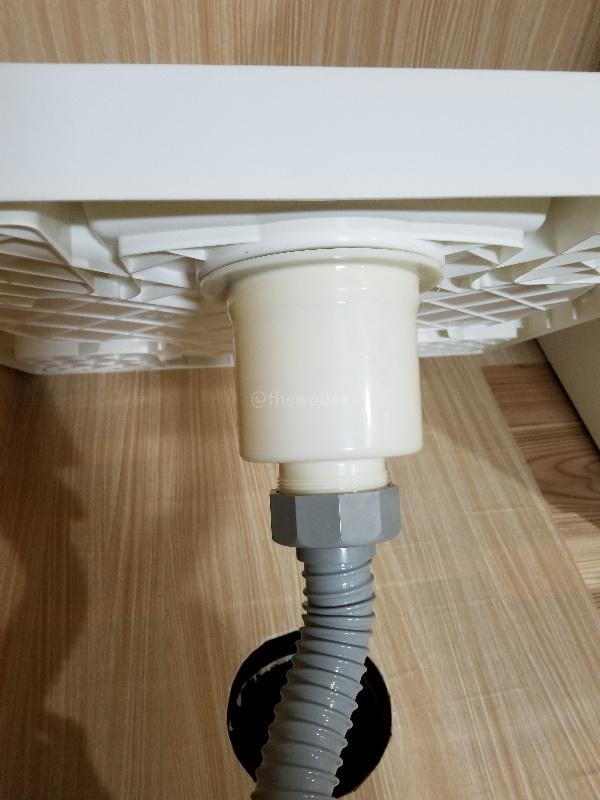
Since the hole is ready, next is attaching the drain tap to the drain pan.
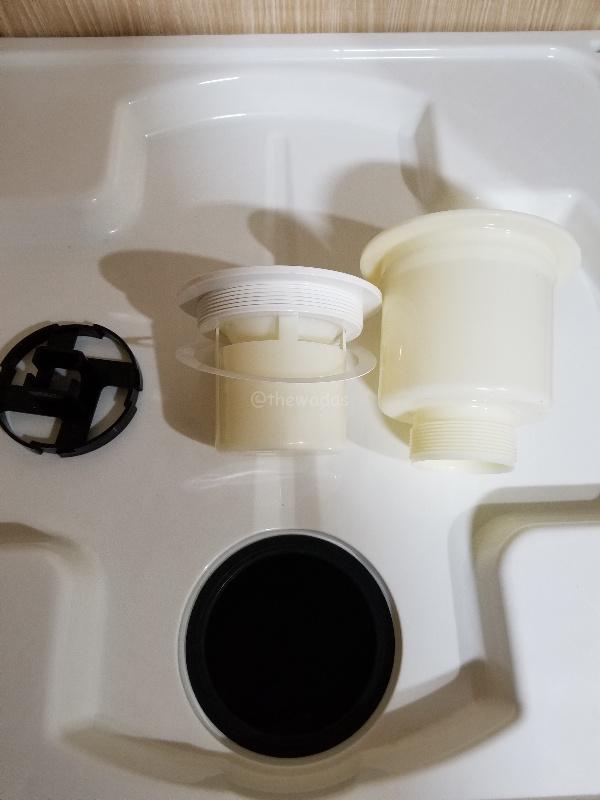
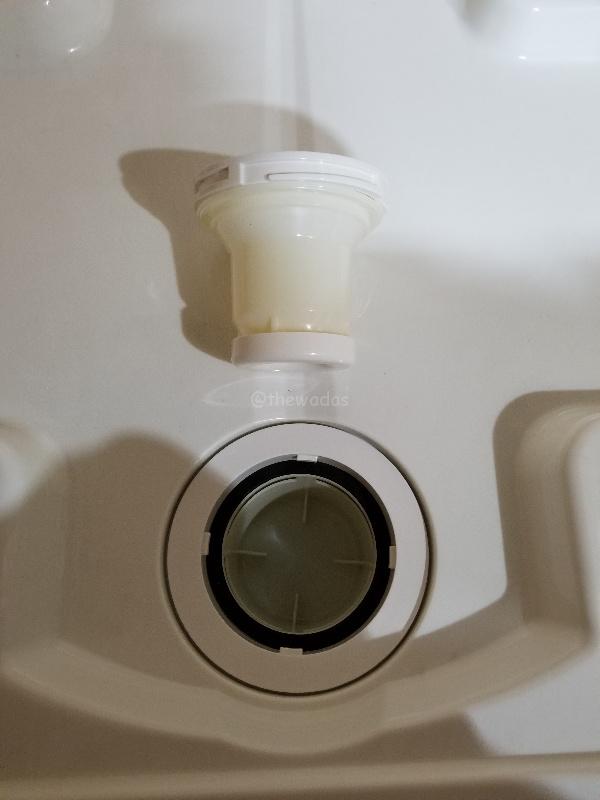
Washing machine drain trap parts
Details for attaching the drain trap.
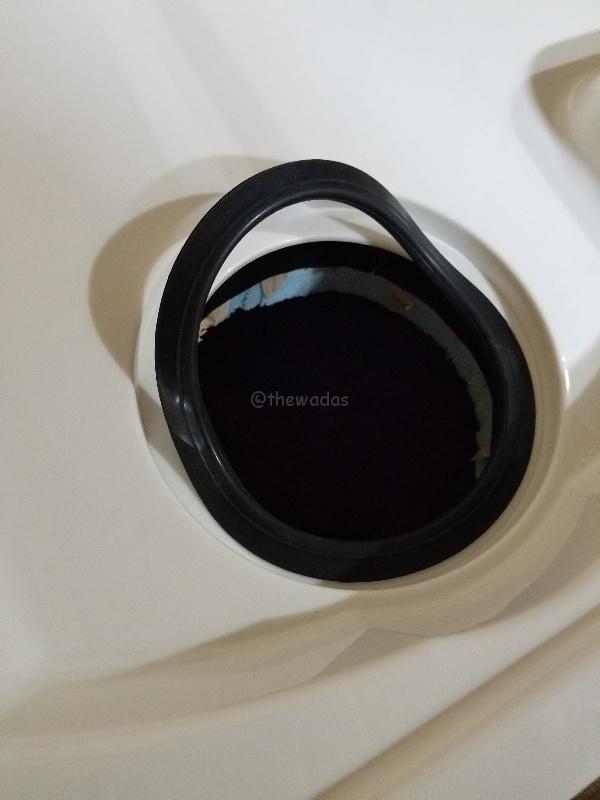
After attaching the drain trap, screw the washing machine drain pan to the floor.
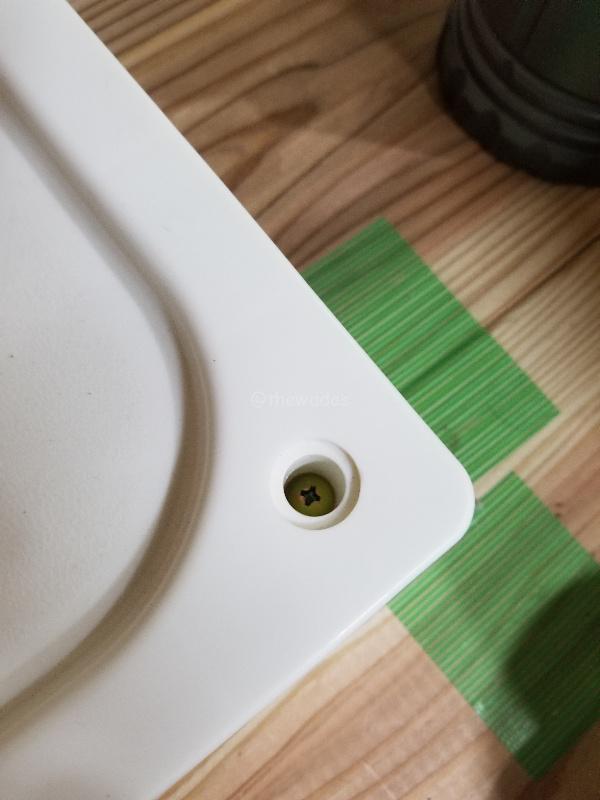
Plastic cover for screw is also included.
Lastly, attaching the drainage hose to the drainage pipe. The connector between the drainage hose and the pipe prevents not only from water leakage but also from unwanted smell.
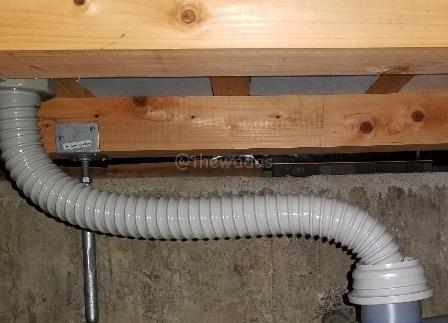
Might need to adjust the slope of the hose…
And, it’s complete!
For me, the hardest part of the entire process is definitely making the hole. Well, actually I don’t really need to make it a circle. A square hole would do just fine and would have been a lot easier.
Anyway, DIY challenge complete!