Trying Landscape Weed Barrier Fabric in Japan
I would like to share my experience of installing landscape weed barrier fabric this time.
Contents
Trying Landscape Weed Barrier Fabric in Japan
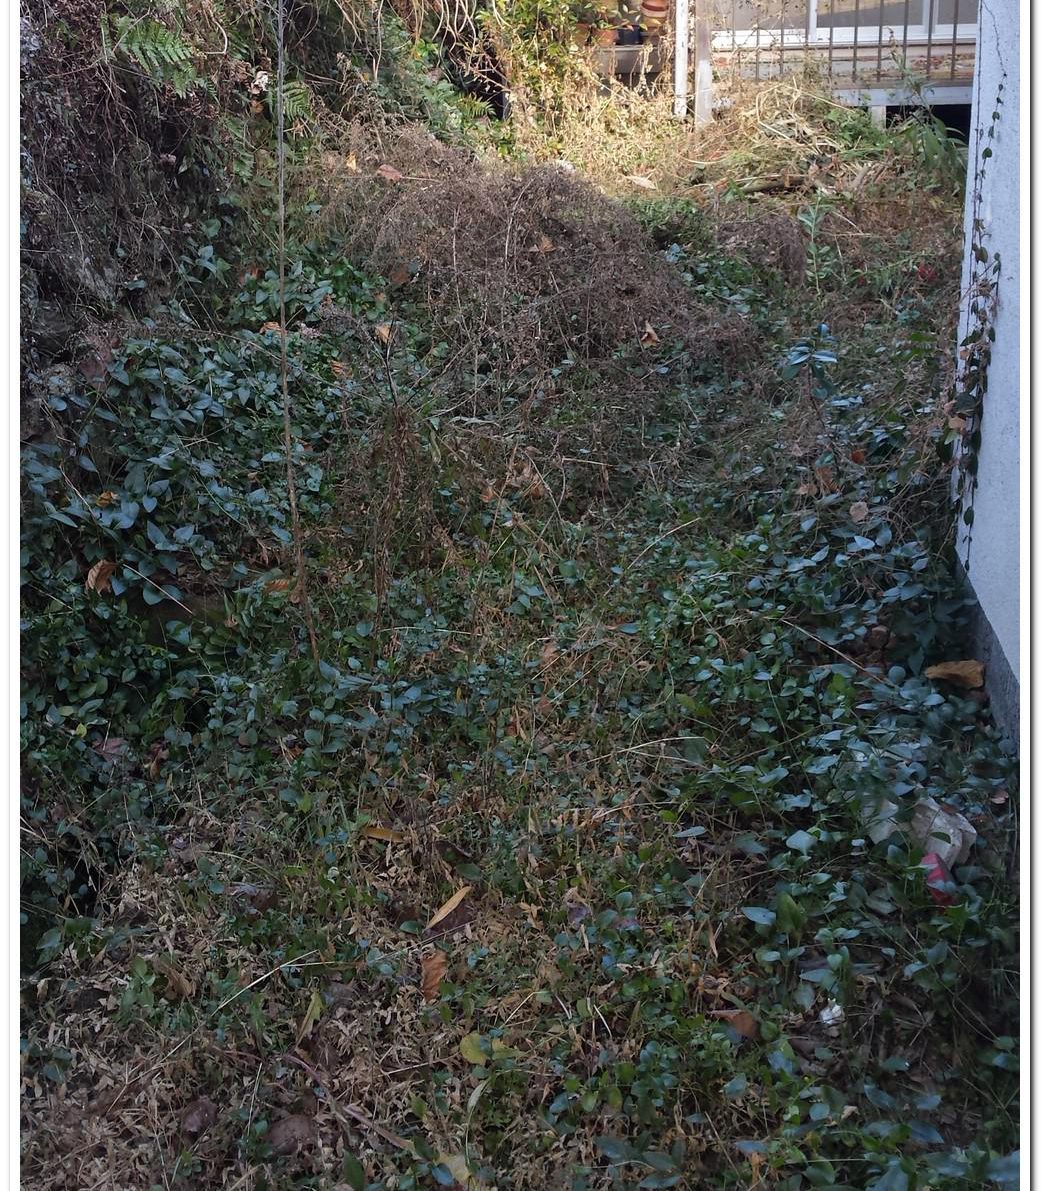
Every summer weeds grow crazy and our garden turns into a jungle. I promised myself not to let it happen again. Thus I shall make a move this time.
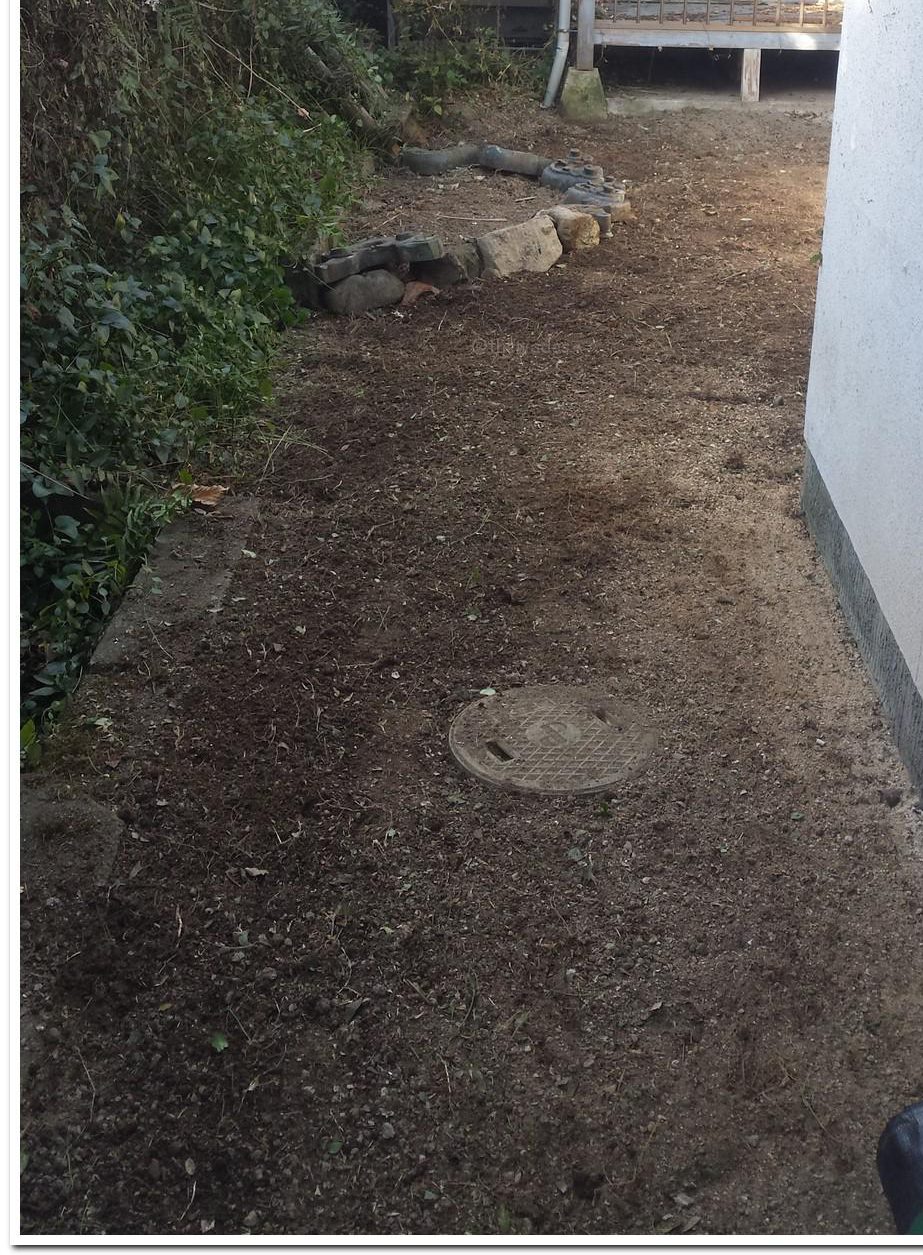
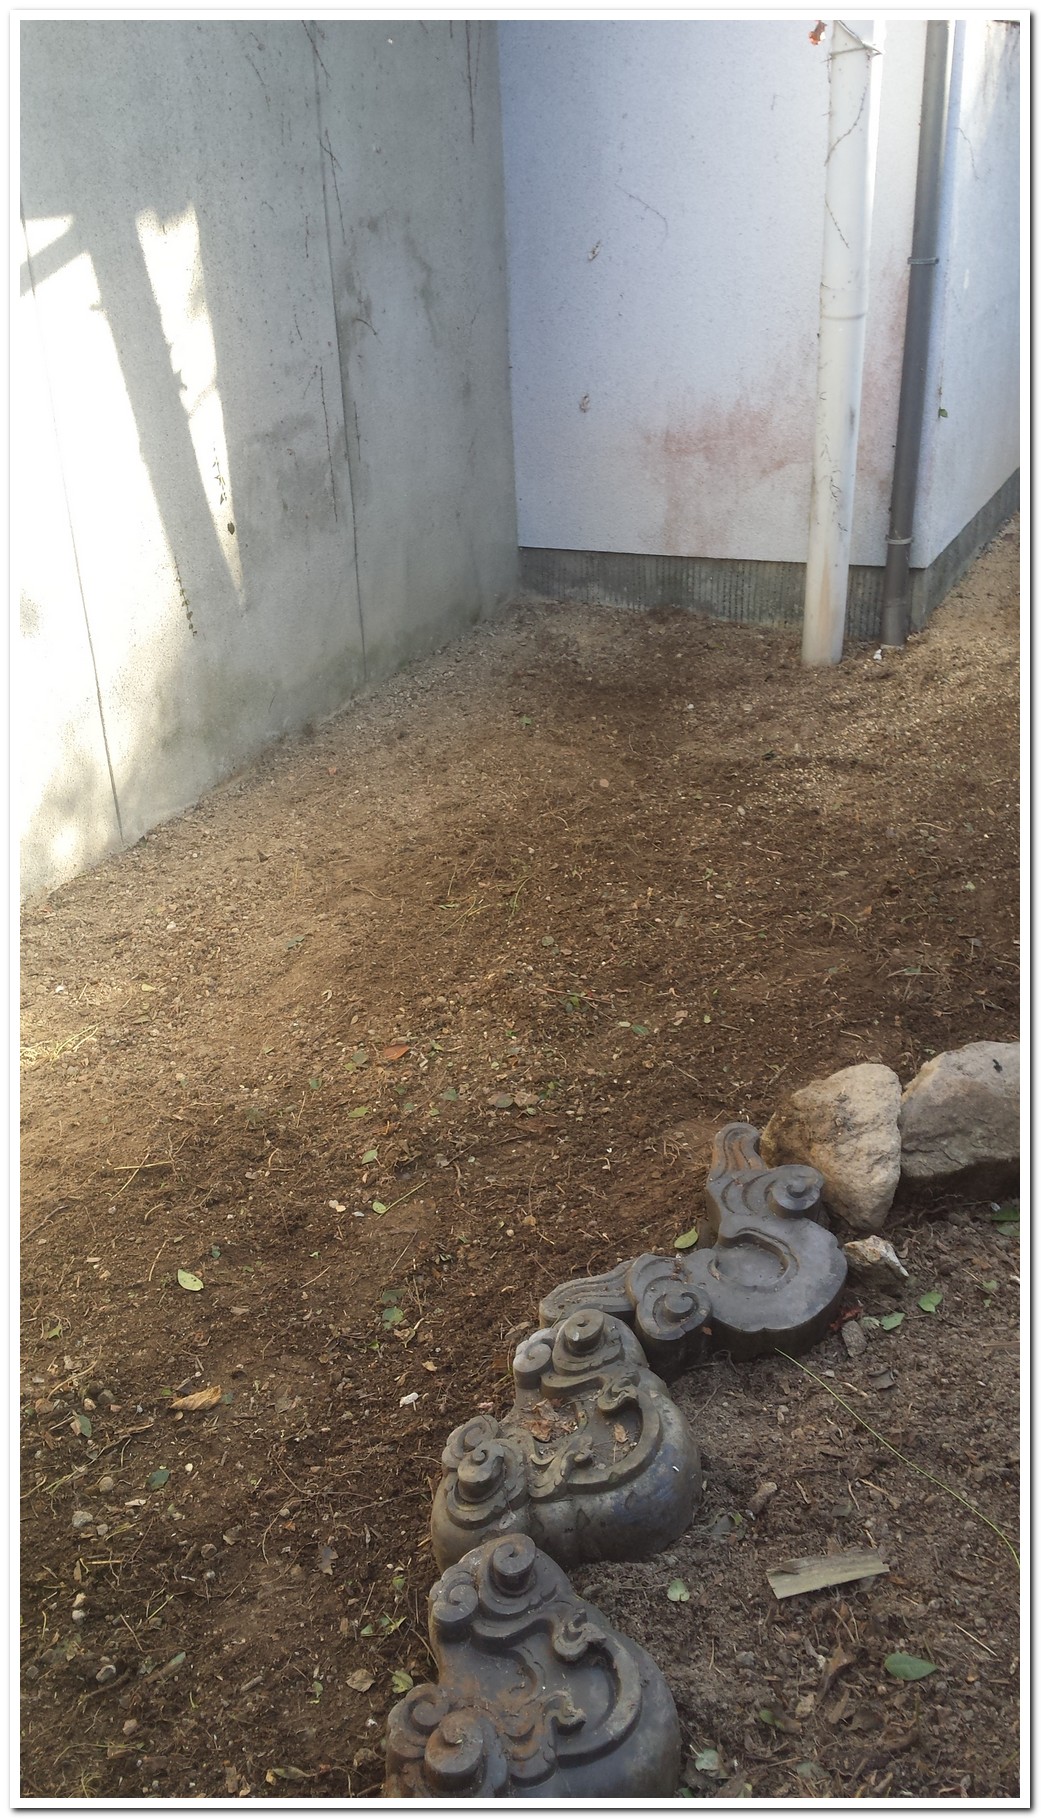
First things first. It has to be cleaned out. I pulled all weeds off from the bottom (as much as possible). It took me a while but I suppose it is the most important part of all.
Cleaned up even the corners! (pant pant)
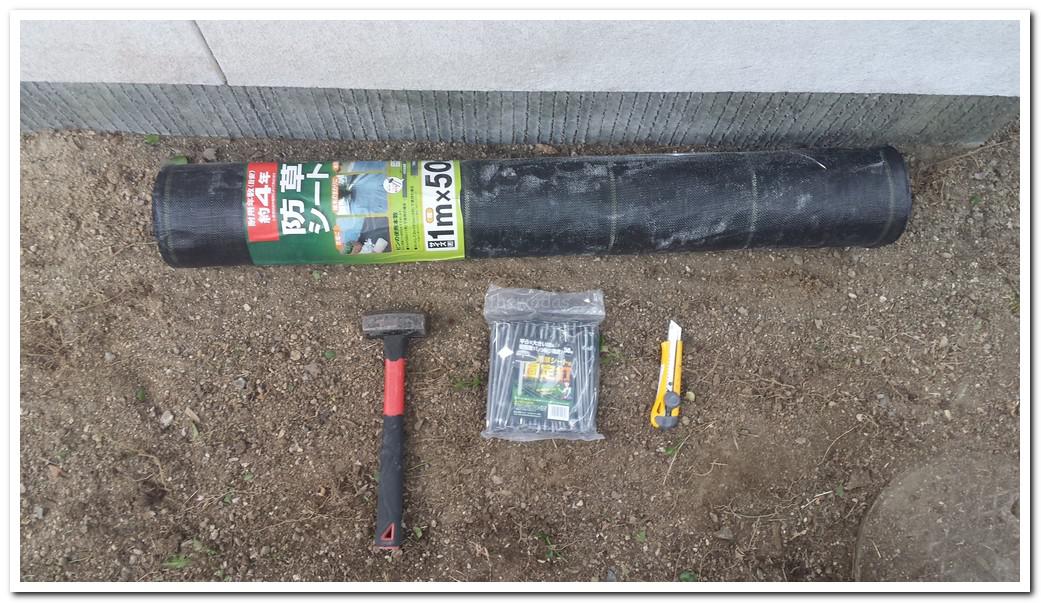
Alright. let’s get started. All I need is a hammer, a cutter, weed barrier fabric, and nails for the fabric. It’s all available at home improvement stores. Cost of weed barrier fabric depends on the grade. I got a middle-grade one which is supposed to last for 4 years (maximum, I believe). It (1m x 60m) was like 4,000 yen and the nails (50 pcs) were like 1,500 yen.
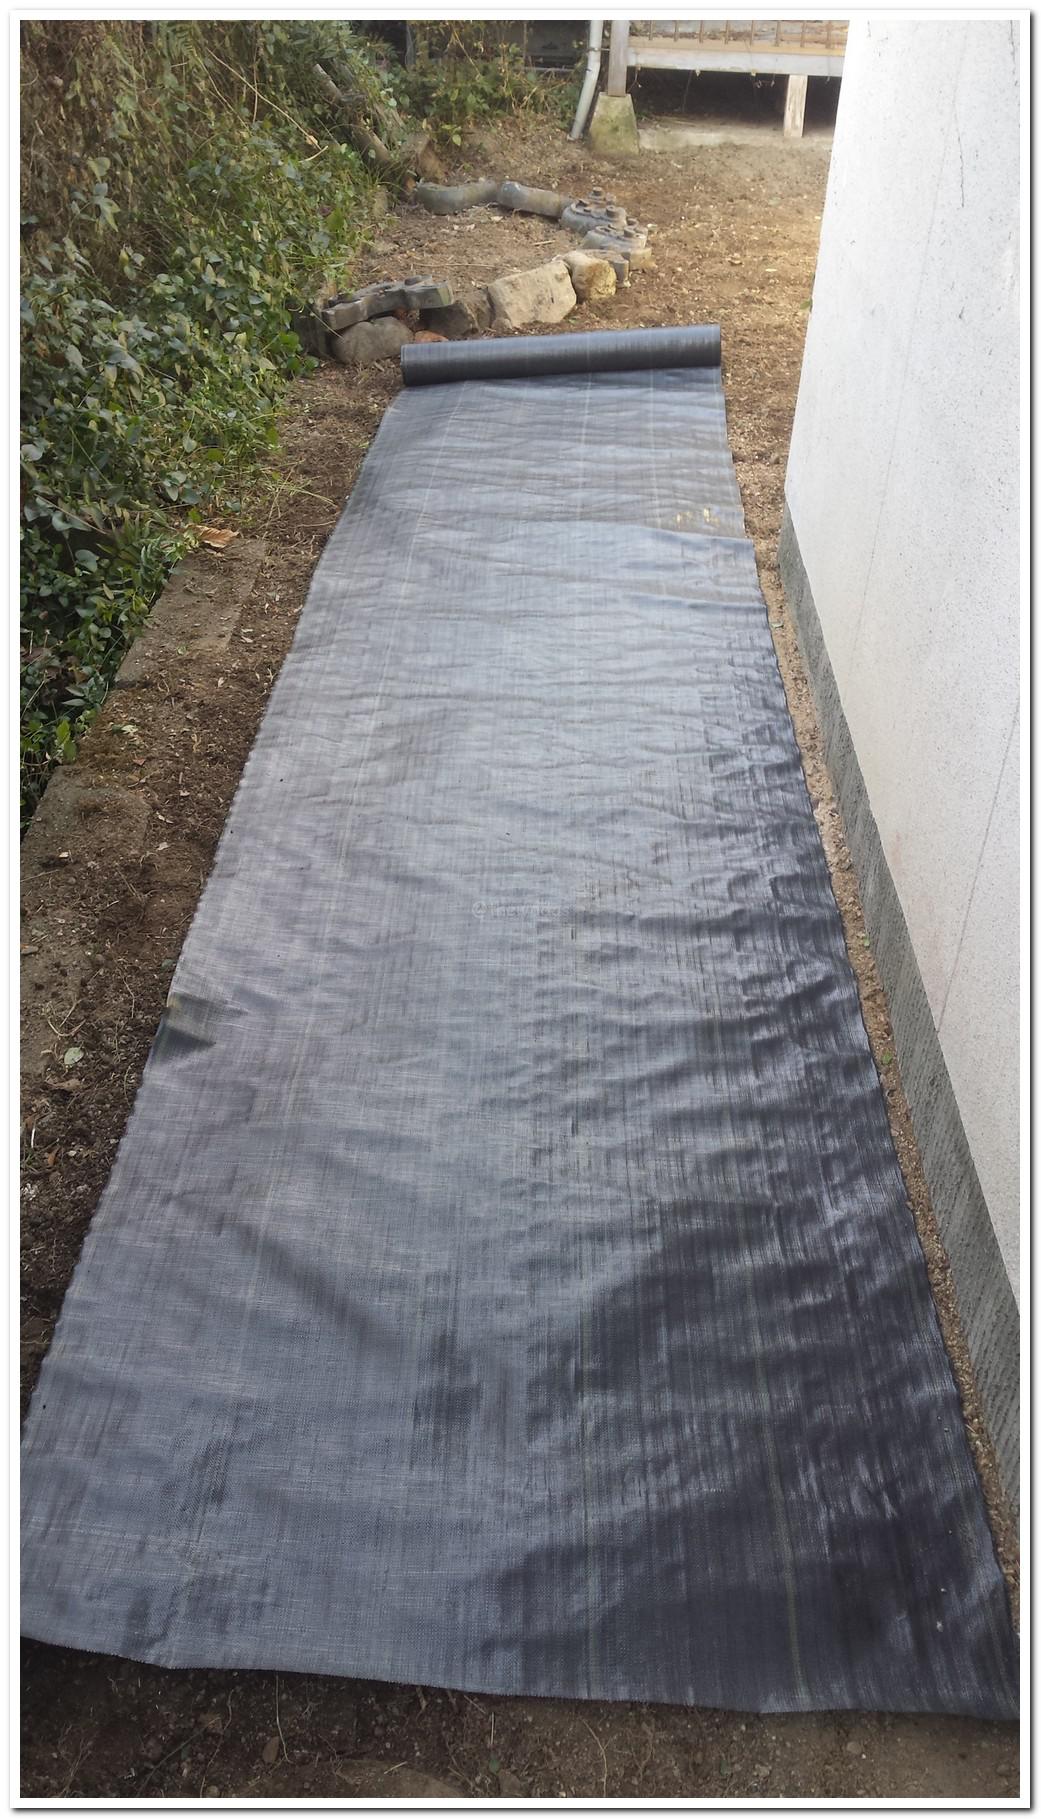
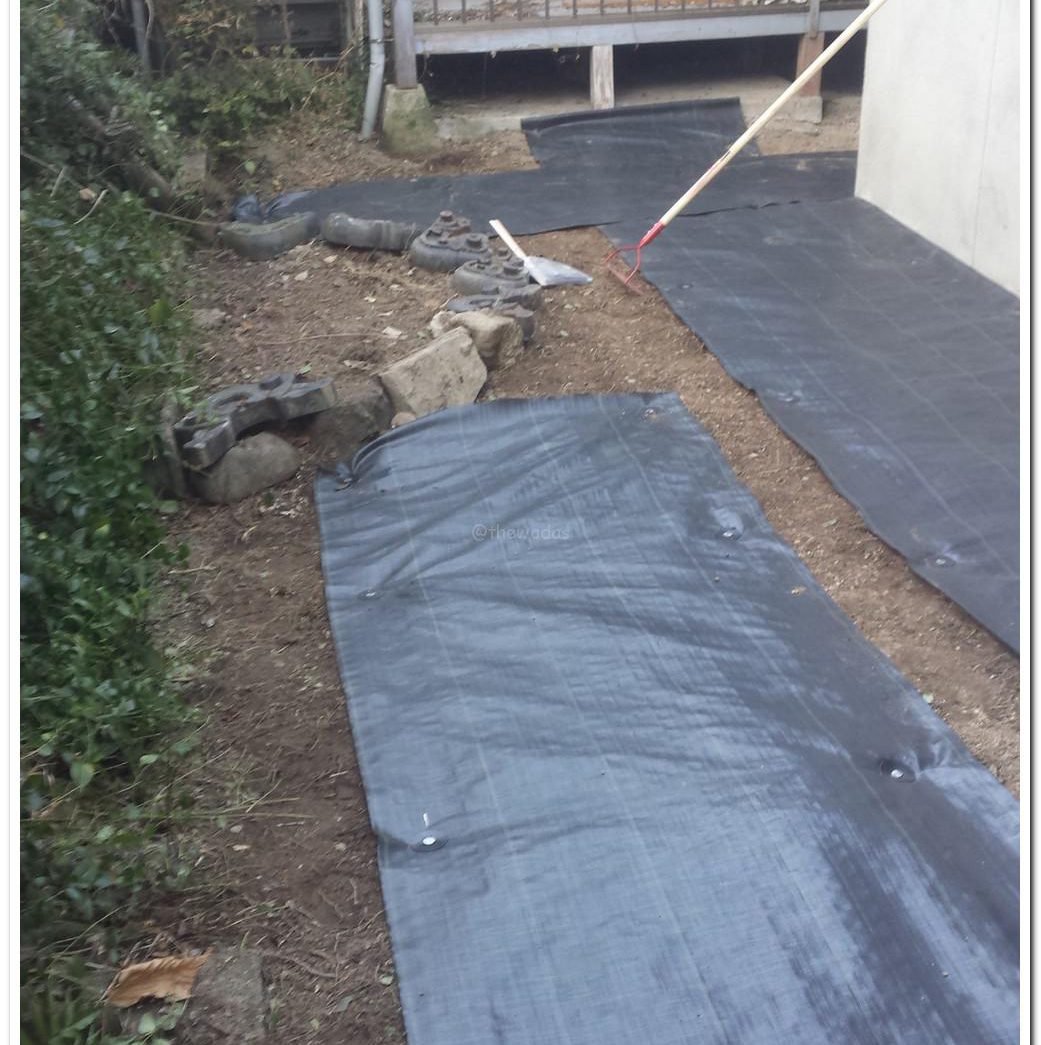
Unroll the landscape weed barrier fabric all the way.
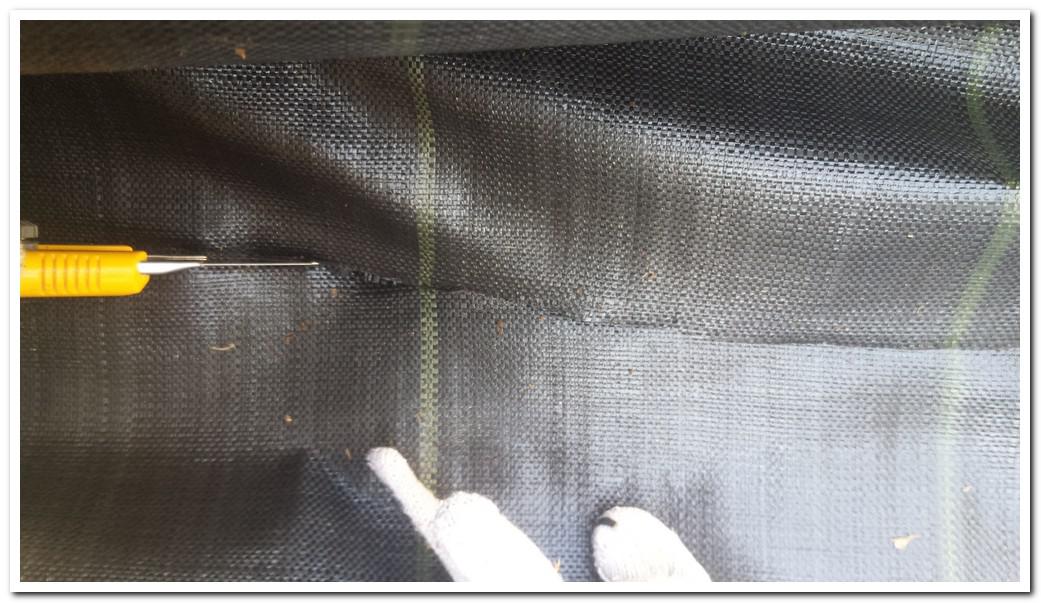
Cut where you like to.
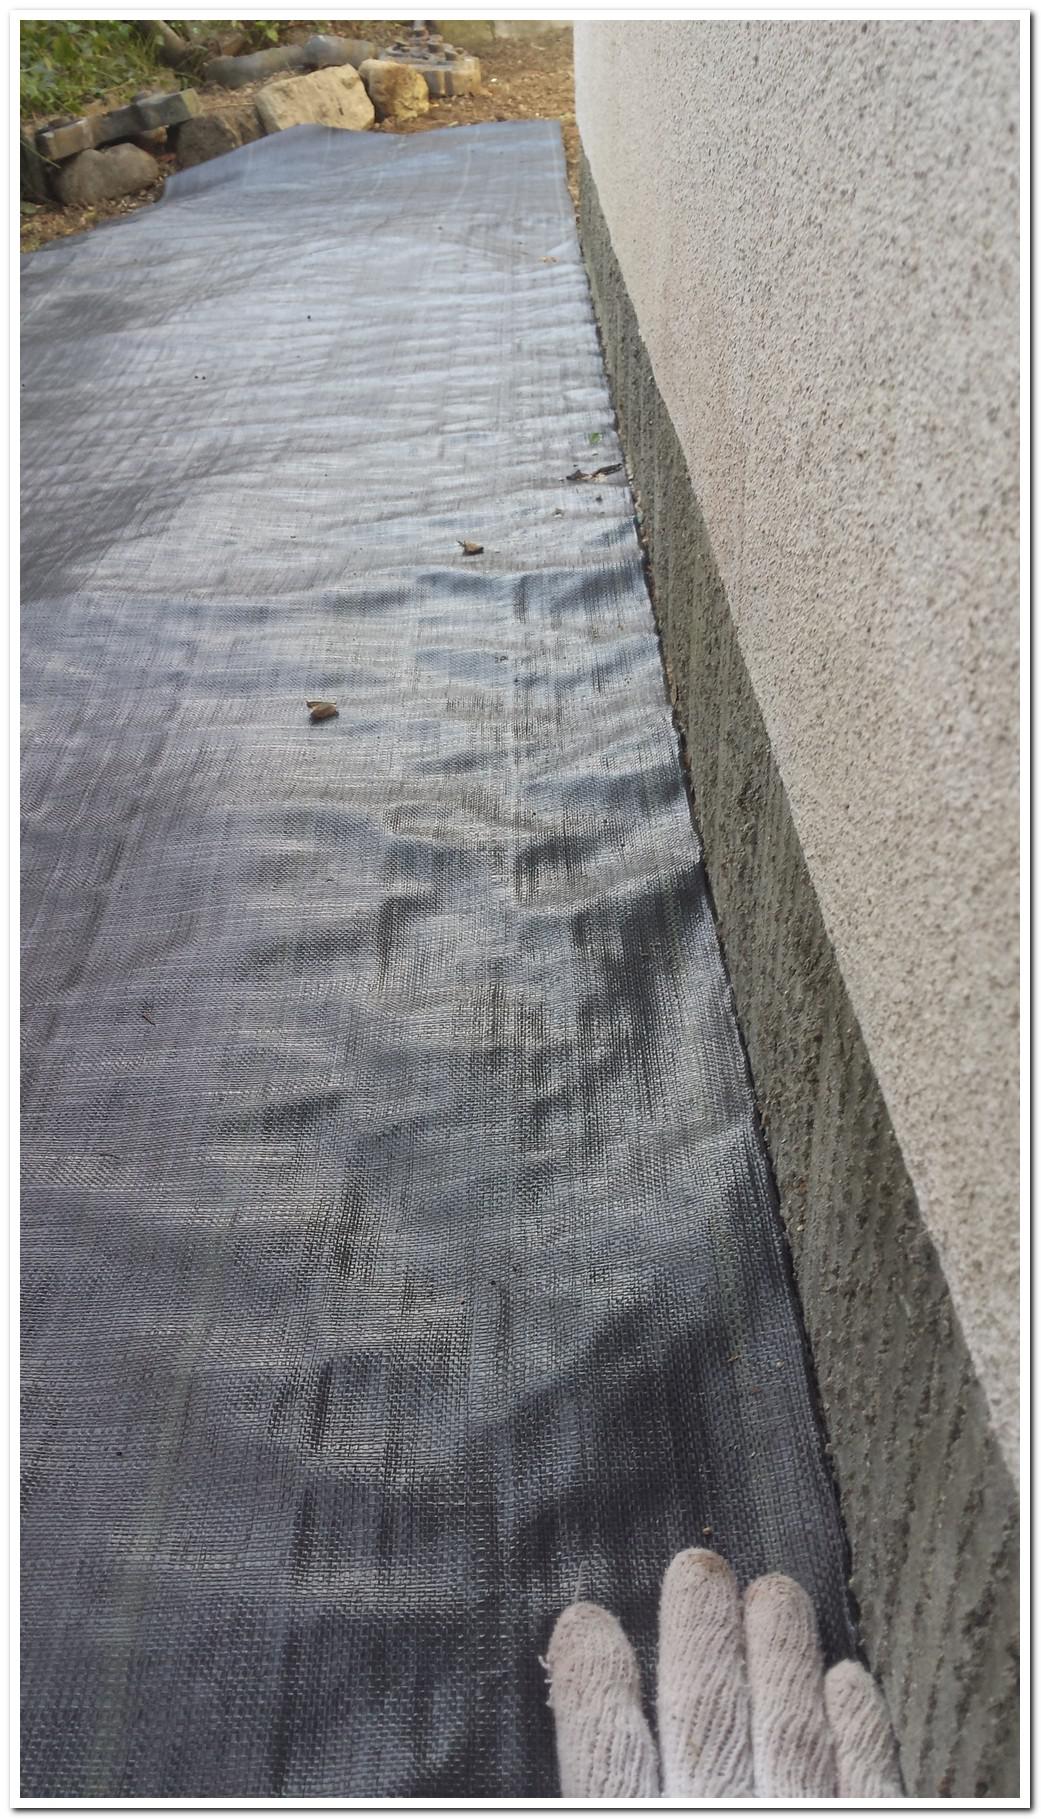
Stick to the edge.
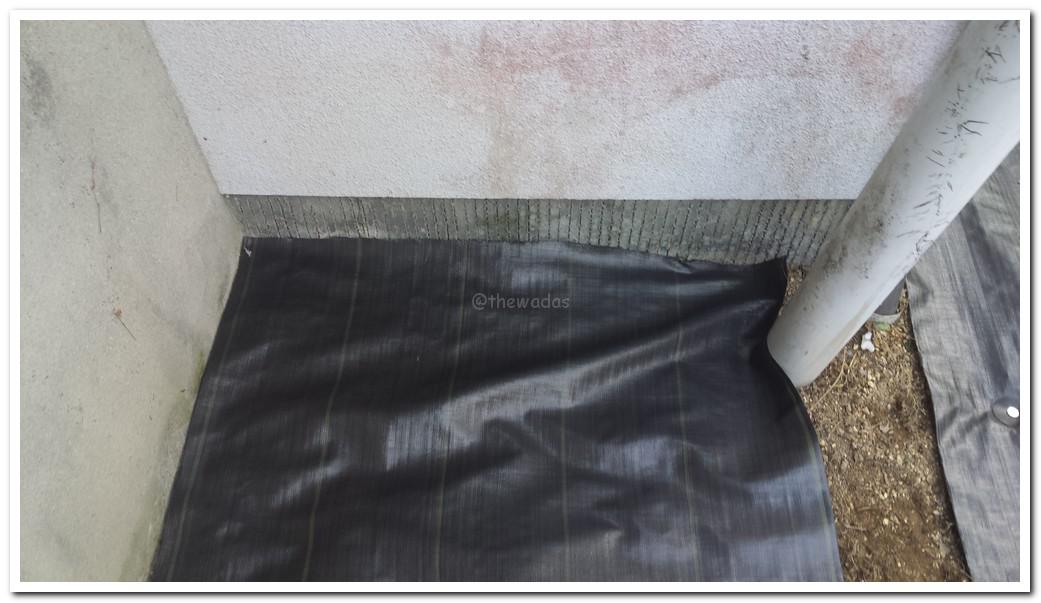
And corners.
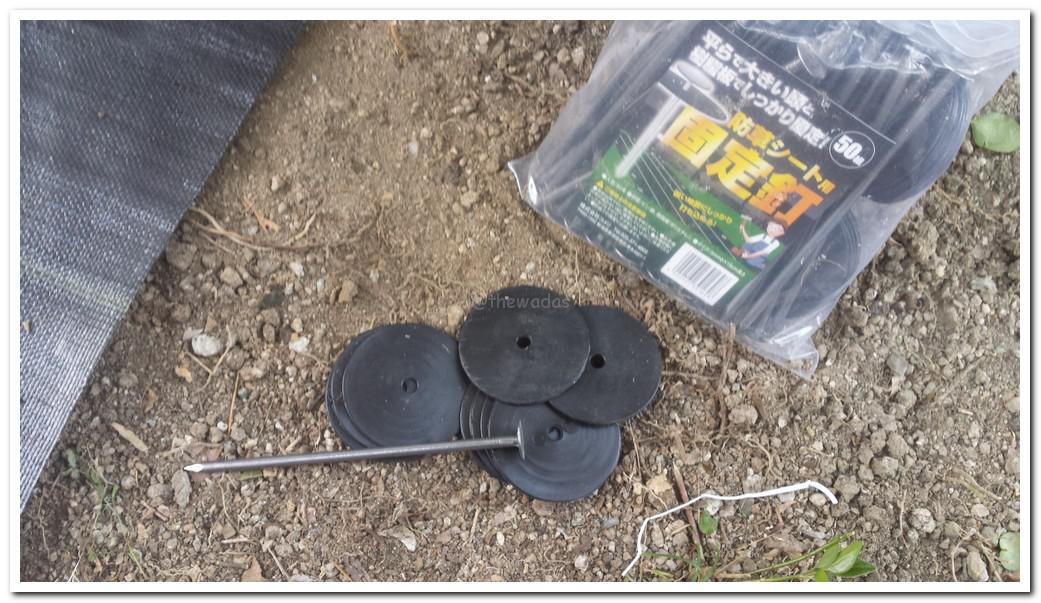
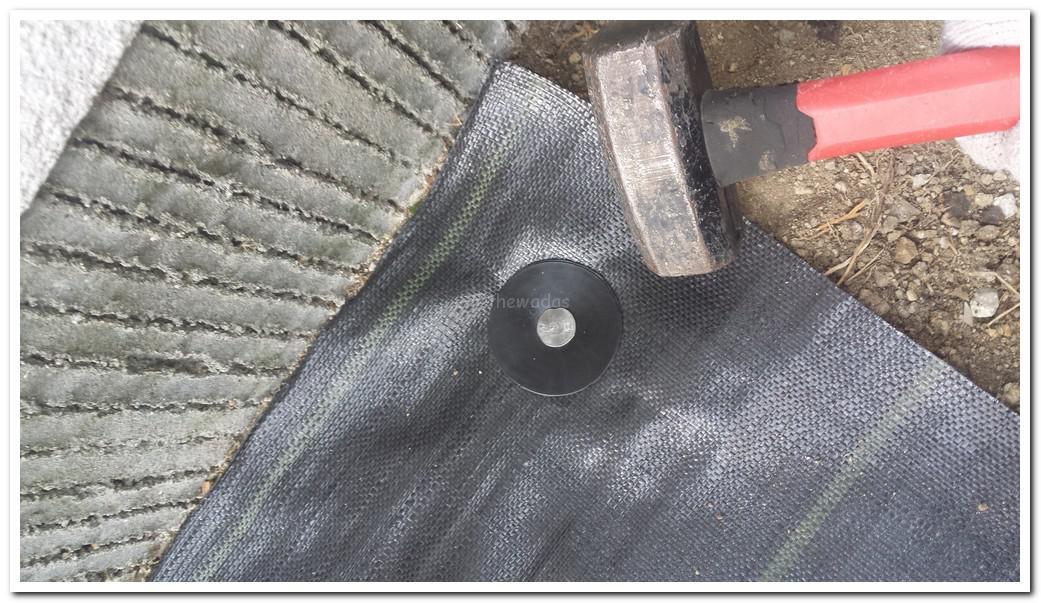
Here comes the nails.
Hammer nails over the fabric. Make sure that there aren’t water pipes below.
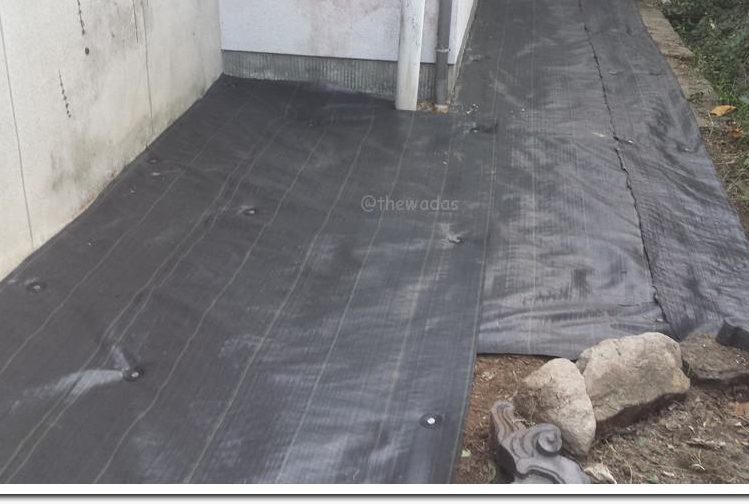
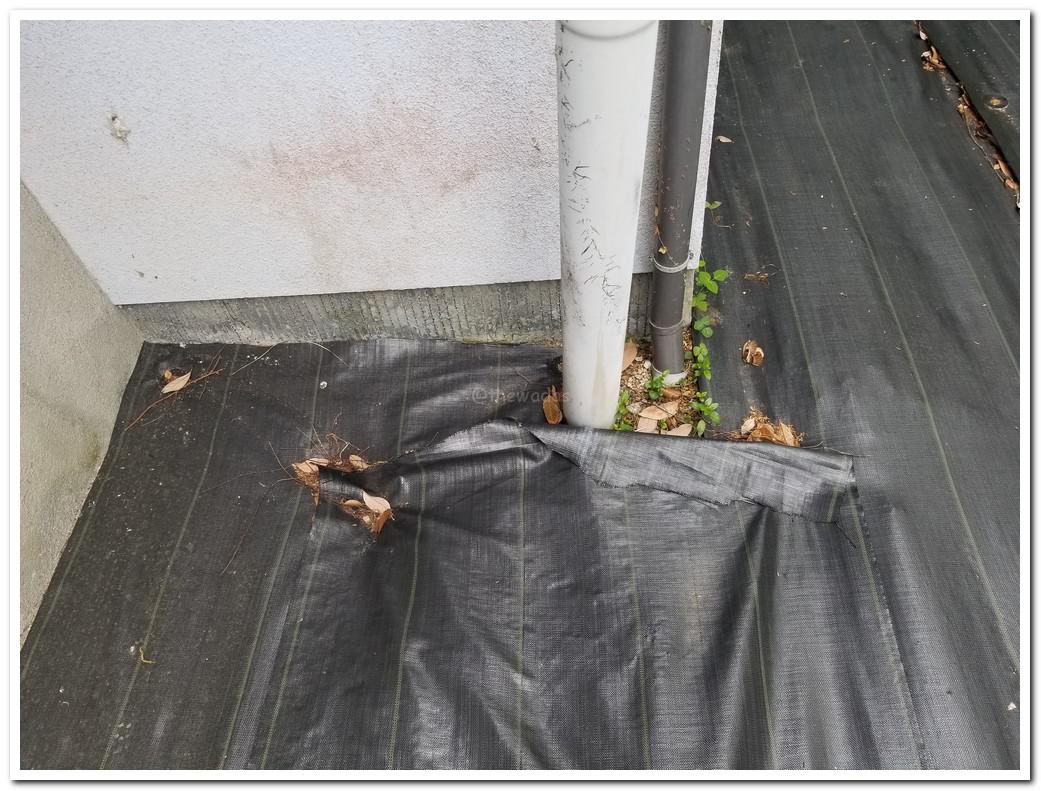
Instruction of the product I purchased says interval between nails should be like 50 cm so I followed it. It may vary for others. I installed extra to cover gaps (in a pic below) to be sure.
Hm. Not perfect but looks alright. We’ll see how it goes.
Months After….
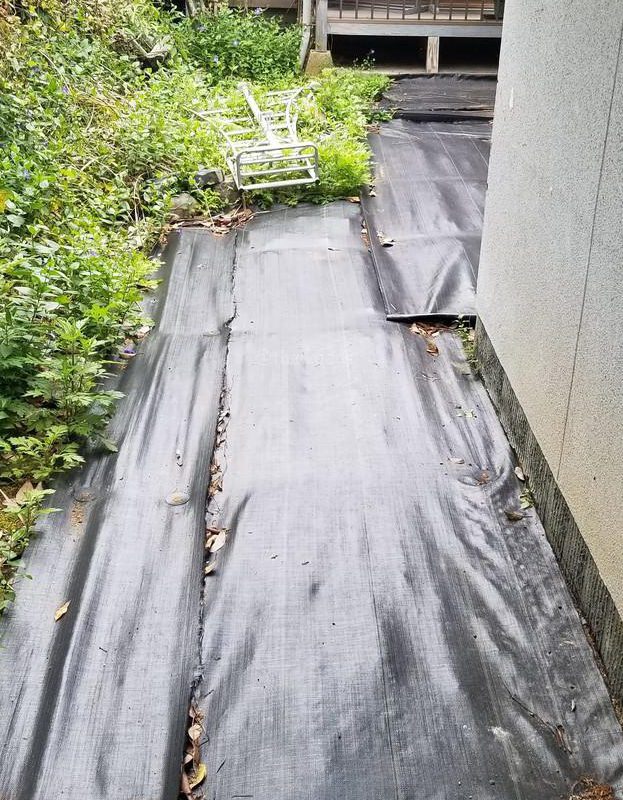
It was Jan that I installed the landscape weed barrier fabric. Let’s see if it makes any difference after four months. Hm. Not bad huh? It looks pretty clean still. Not to mention, there are weeds growing at where isn’t covered by the fabric. That’s a good comparison though. I guess I should keep my eyes on it…
Hope it helps.
See you around!


